Need an easy project that also look amazing? Try the 3-seam pillowcase. (AKA - the burrito pillowcase method)

Holidays are just around the corner so I thought I'd make a couple fun pillowcases for the kiddos in my life. I love how quick and easy this project turns out. Plus, they always look amazing.
Here's what you'll need:
- 27 inches by width of fabric for main body of pillowcase
- 9 inches by width of fabric for the cuff
- 2 inches by width of fabric of accent fabric
- thread to match
I have a future astronaut and paleontologist in the family, so I choose appropriate fabric for each. I like to pick a nice bright fabric for the cuff, and then just a splash of contrasting but still complimentary fabric for the accent fabric. The pic below shows how I audition the fabric during the selection process.

First Step - Square Up
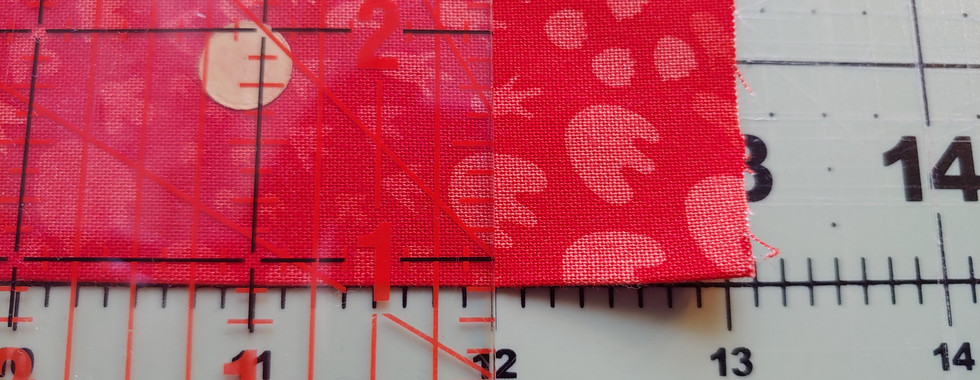
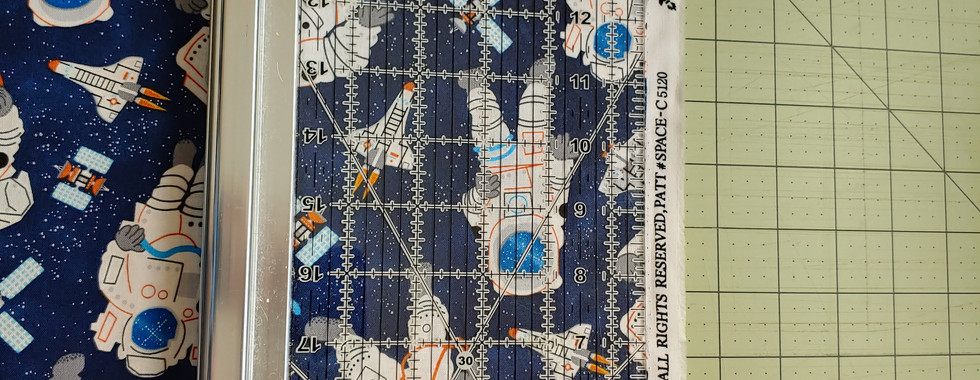
Square up all the fabric and trim as necessary. I like to measure the width of the fabric of each piece separately, since manufacturers will vary on width of fabric. Once selvedges are removed, you'll have somewhere between 40 to 42 inches of usable fabric. Trim the width to the same amount. For these pillows I had to trim down to 40 inches.
My ending pieces are: 2" by 40" for the accent fabric
9 " by 40" for the cuff
27" by 40" for the pillow body

Second Step - Pressing
Both the accent piece and the cuff piece will need to be pressed in half longways, top facing up so the back of fabric can't be seen.
And since I have the iron out I press the body fabric too.
Third Step - Stacking the Fabric
Take your cuff fabric, open it up, lay it down face up. (That folded crease will come in handy at the end.)

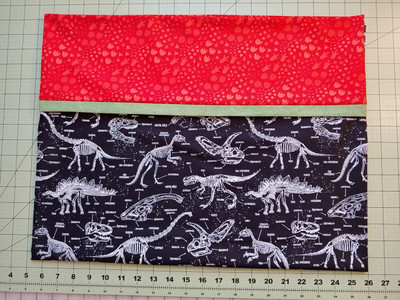
Next, take your main body fabric and match one of the long raw edges with the cuff are edge. It'll look this this:

Then add your accent piece, you'll lay it on top of the stack, again raw edges together. It should look like this:

Then roll all the excess body fabric up; leave a few inches unroll so that it looks something like this:

Now we wrap the roll/stack with the other long raw edge of the cuff fabric, creating a burrito or tube.

Pin together, and sew a seam along that long raw edge.


Here's another pic of what the rolled stack looks like (see right). The bright orange cuff fabric is on the bottom, then layered on top is the main body fabric (black) and the green accent fabric. The orange cuff fabric wraps around it. Please note that once the rolled stack is complete you'll see the wrong side of the cuff fabric.
Fourth Step: Turn Out the Tube
Once sewn, reach inside one of the ends and pull out the roll of fabric inside completely.
Give the pillowcase a quick press; that pre-pressed cuff should help.
Fifth Step - Two Last Seams

Fold the pillowcase in half, matching the cuffs, with the right sides together.

Pin the side and the bottom. Then stitch the side and bottom.
Turn your finished pillowcase right sides out, press.
And done!
Here's few pics of my finished pillowcases:
Let me know what you think of this method in the comments below.
Gotta get back to the lab!
Cynthia










Comentarios